
We know that porcelain tile is one of the most durable, stylish, and water-resistant flooring options available.
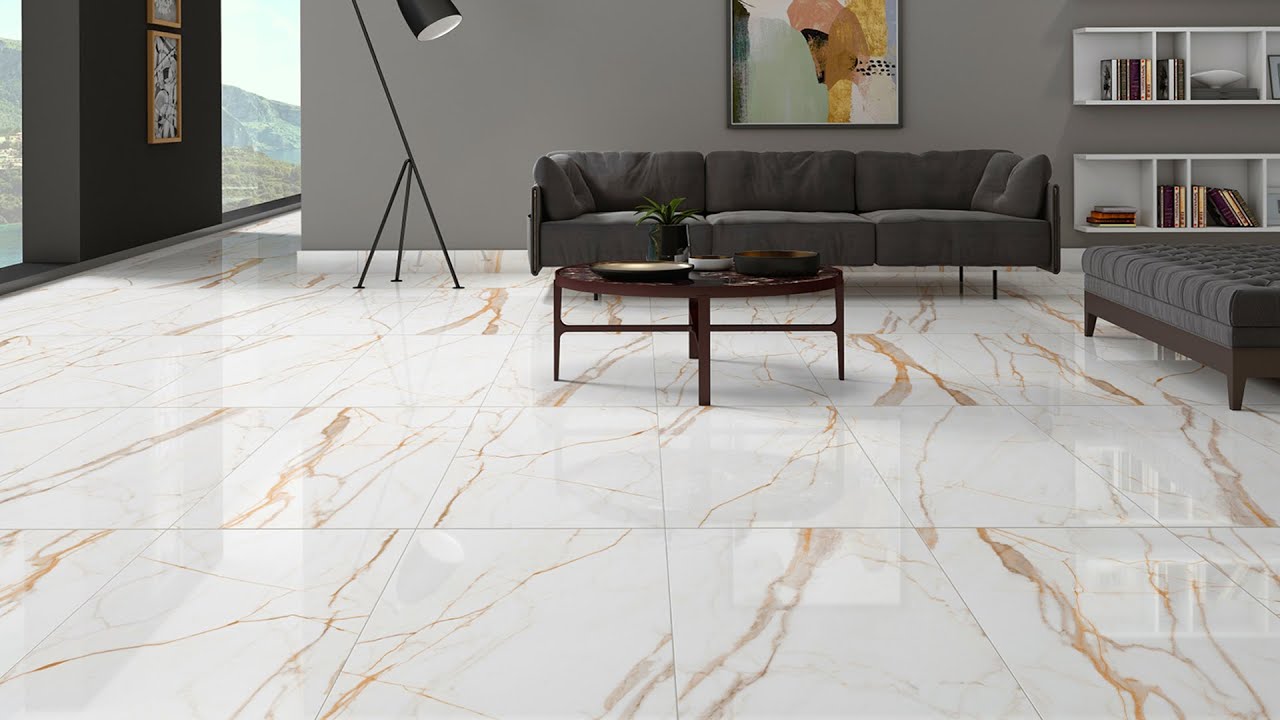
We know that porcelain tile is one of the most durable, stylish, and water-resistant flooring options available. It’s perfect for bathrooms, kitchens, and high-traffic areas, offering a sleek and long-lasting surface. While porcelain tile installation requires precision and patience, it’s entirely DIY-friendly with the right tools and guidance. This guide is part of our DIY flooring series, providing you with every single detail you need to install porcelain tile like a pro. Whether you’re working on a small room, an entire home, or a commercial space, this step-by-step guide ensures a flawless installation. And if you decide you’d rather have a professional handle it, we offer expert porcelain tile flooring installation services in Denver, Golden, Lakewood, Arvada, and surrounding areas.
A stable, level, and clean subfloor is crucial for a long-lasting tile installation.
Remove any existing flooring, including old tile, laminate, or carpet.
Ensure the floor is level within ⅛ inch over 6 feet. If needed, use a self-leveling
compound to fix low areas.
If installing over wood subfloors, install cement backer board with screws and thin-set
to provide a firm surface.
If installing over concrete, clean the surface thoroughly and repair any cracks.
Tip: Never install porcelain tile directly over plywood—it expands and contracts too
much, leading to cracks.
Proper planning ensures a balanced, symmetrical design and prevents awkward cuts.
Find the center of the room using a chalk line and mark a grid pattern for the tiles.
Dry-lay the tiles to see how they fit and adjust the starting point to avoid narrow slivers
at the edges.
Consider using a tile leveling system to prevent uneven surfaces (lippage).
Tip: A brick or staggered pattern reduces visible seams and makes small
misalignments less noticeable.
Mix thin-set mortar specifically designed for porcelain tiles until it reaches a peanut
butter-like consistency.
Use a notched trowel to spread a thin, even layer of mortar on the subfloor.
Hold the trowel at a 45-degree angle to create grooves in the mortar for better adhesion.
Tip: Only spread enough mortar for a few tiles at a time—it dries quickly!
Place the first tile at the center of the room and press it firmly into the mortar.
Use tile spacers to maintain consistent grout lines.
Continue placing tiles, following your grid pattern and working outward.
Occasionally lift a tile and check the coverage of thin-set on the back—it should be at
least 85-90% coverage for a strong bond.
Tip: If a tile sits too high, press it down slightly. If it's too low, add more mortar
underneath.
Use a wet saw with a diamond blade for precise cuts—porcelain is much harder than
ceramic and requires a stronger cutting tool.
For straight cuts, use a manual tile cutter.
For curved or irregular cuts, use tile nippers or a wet saw with an adjustable guide.
To fit tiles around pipes, vents, or doorways, measure carefully and cut slowly for
accuracy.
Tip: Always wear safety goggles when using a wet saw, as porcelain chips more
easily than ceramic.
Let the tiles set for at least 24 hours before walking on them or applying grout.
Remove tile spacers before grouting.
Tip: Walking on freshly laid tiles can shift them, ruining alignment
Mix grout according to the package instructions until smooth.
Use a rubber float to spread grout into the spaces between tiles.
Hold the float at a 45-degree angle and sweep diagonally across the tiles to remove
excess grout.
Wipe off the excess grout with a damp sponge before it dries.
Tip: If using textured porcelain tiles, apply a grout release before grouting to
prevent staining.
After 24 hours, wipe the tiles again with a clean, damp sponge to remove grout haze.
Apply grout sealer to protect against moisture, stains, and discoloration.
Tip: Grout sealer is especially important in bathrooms, kitchens, and
high-moisture areas.
Install baseboards or quarter-round molding to cover expansion gaps along the walls.
If transitioning to another flooring type, install a transition strip for a smooth connection.
Tip: Use silicone caulk instead of grout at edges where the tile meets walls,
cabinets, or tubs to prevent cracking.
Vacuum the carpet thoroughly to remove loose fibers.
Inspect seams and edges for any loose areas.
If needed, lightly dampen the carpet and let it dry overnight to settle fibers.
Tip: Avoid heavy furniture for 24-48 hours to allow the carpet to settle properly.
Uneven tiles (lippage) – Use a tile leveling system to ensure a smooth finish.
● Thin-set drying too fast – Work in small sections to prevent it from hardening before
you lay the tiles.
● Cracking tiles – Ensure your subfloor is stable and level before installation.
● Grout discoloration – Use a high-quality grout sealer to prevent moisture absorption.
● Sharp tile edges – Smooth rough edges with sandpaper or a tile stone.
Installing porcelain tile flooring is a rewarding DIY project that adds elegance, durability,
and water resistance to any space. With careful planning, precise cuts, and proper
installation techniques, you can achieve a professional-looking tile floor that will last for
decades.
📢 Have any questions? Need professional porcelain tile installation instead of DIY?
Our team provides expert tile flooring installation services in Denver, Golden, Lakewood,
Arvada, and surrounding areas.

Golden Flooring & Remodeling Company – Providing quality flooring, kitchen, and bathroom remodeling with expert craftsmanship and personalized service.