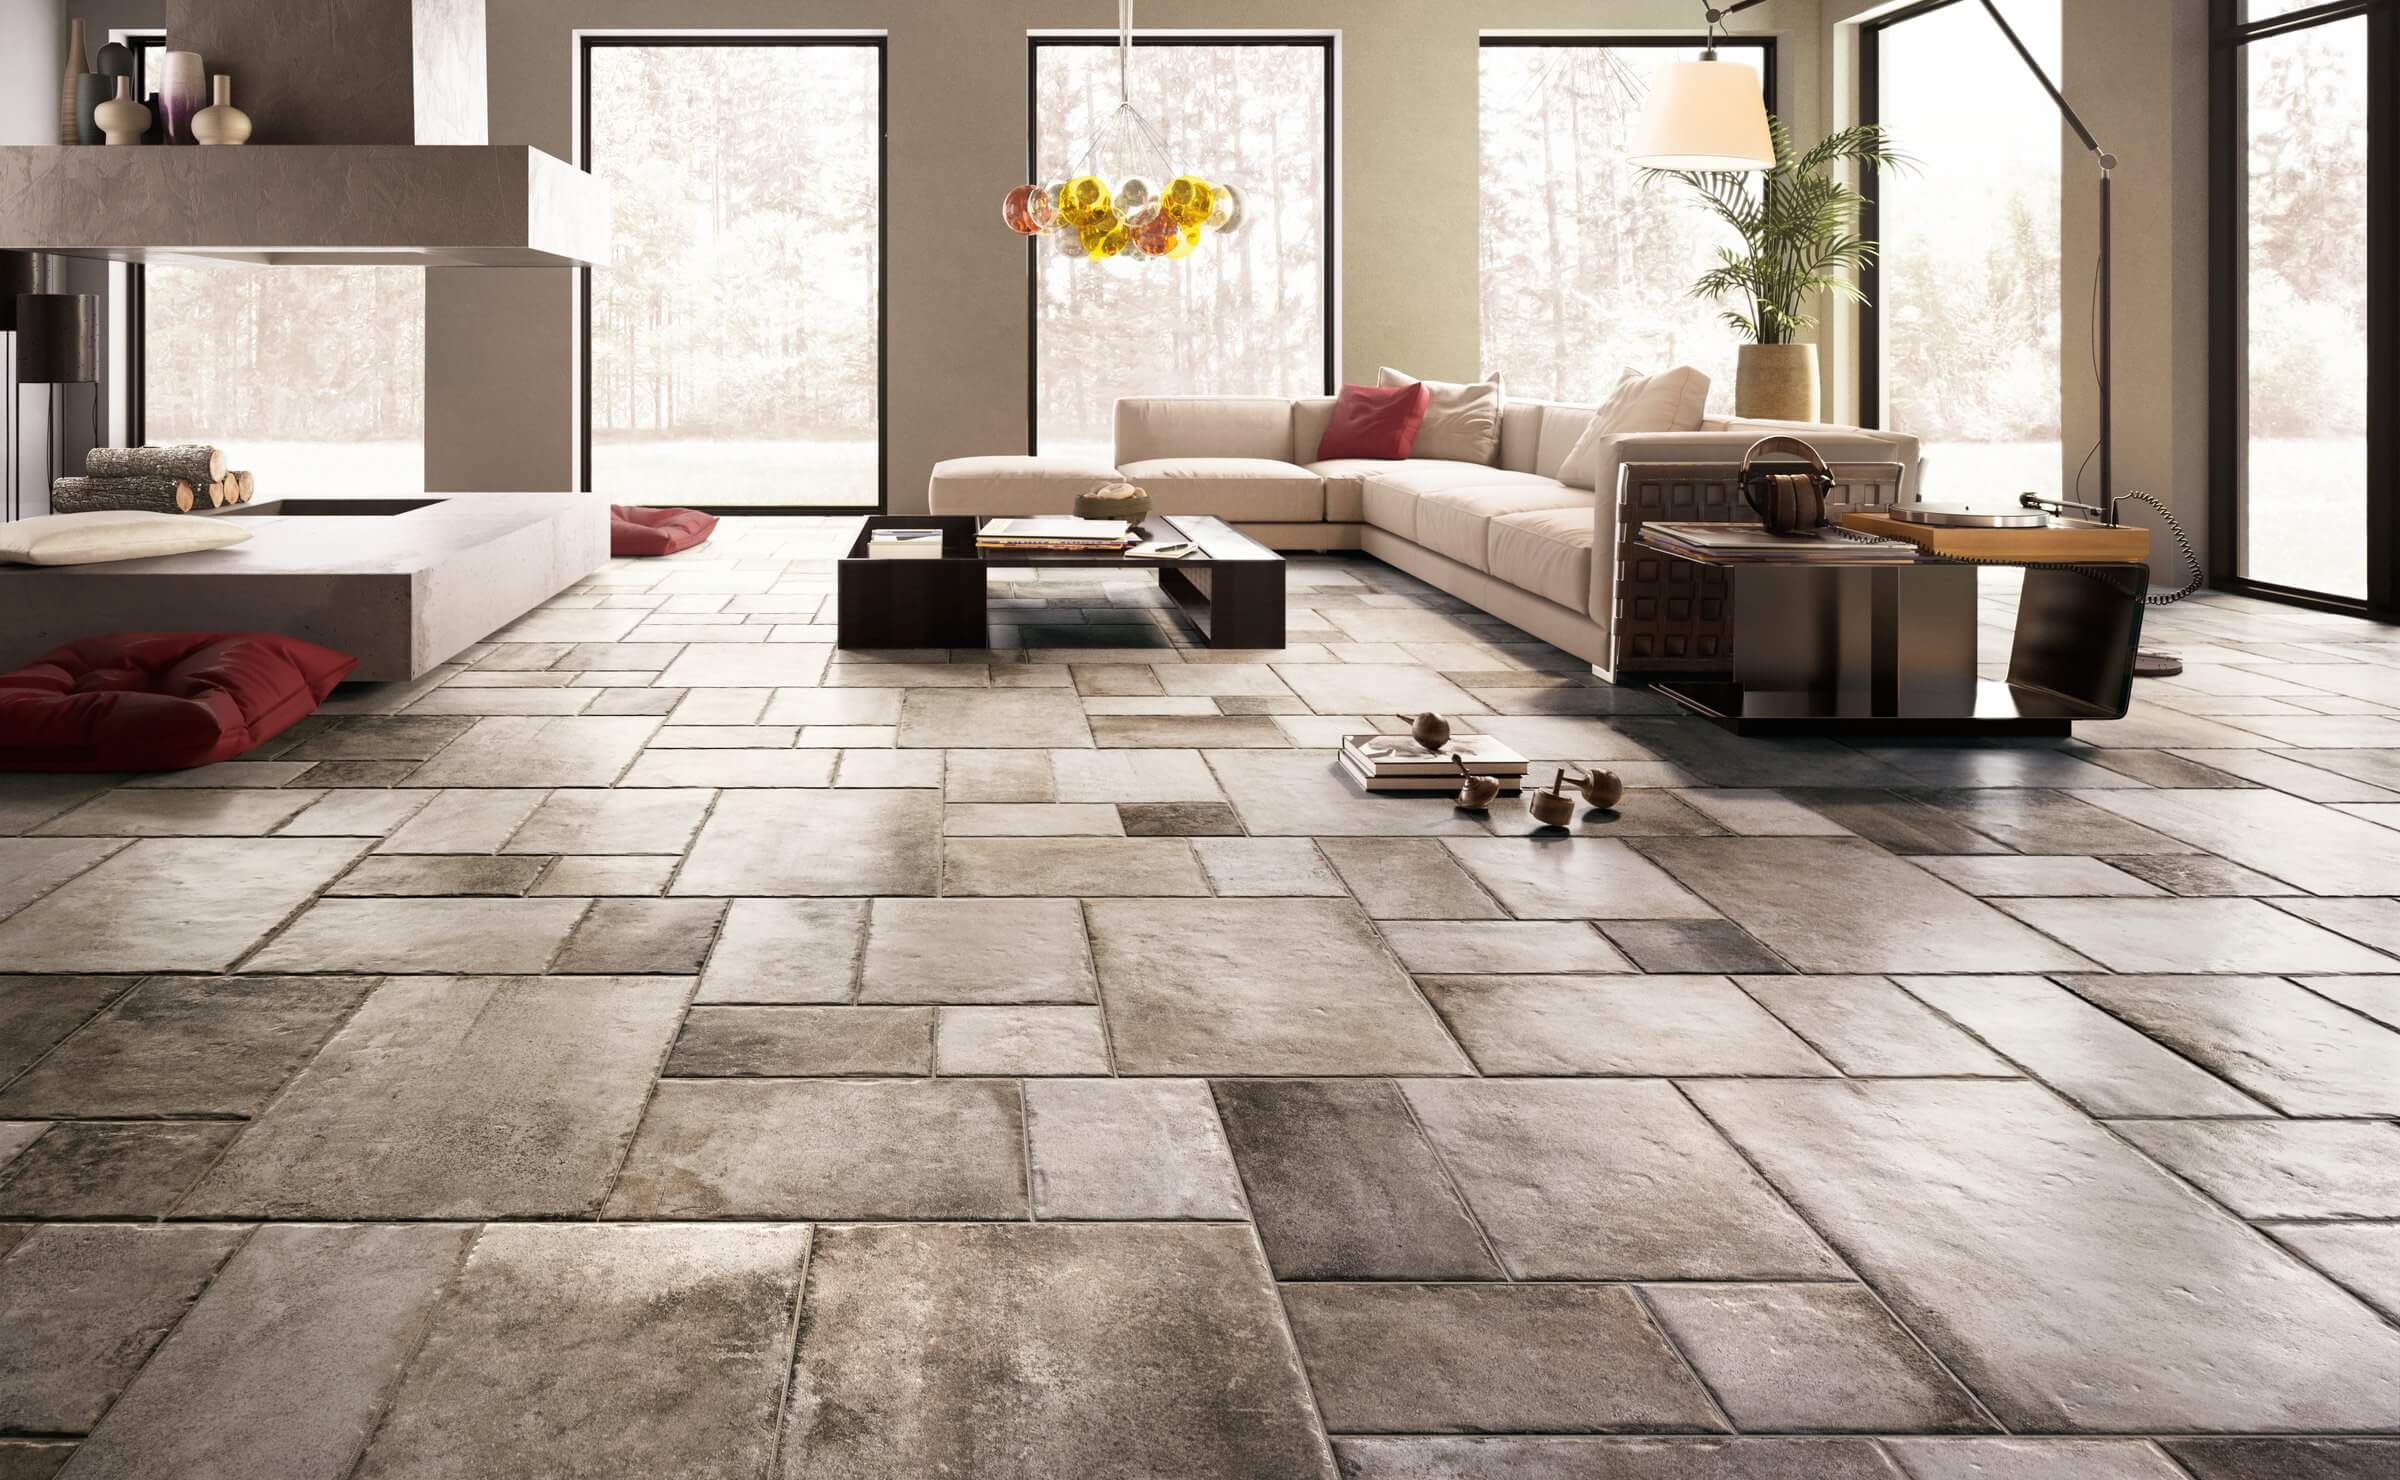
Ceramic Tile
We know that ceramic tile flooring is one of the most durable, water-resistant, and stylish options for kitchens, bathrooms, and other high-traffic areas.
Tools and Materials You'll Need
Tools Required
- Tape measure
- Chalk line
- Carpenter’s square
- Pencil
- Level
- Tile cutter (manual or wet saw)
- Tile spacers
- Notched trowel
- Rubber float
- Bucket
- Mixing paddle (for mortar and grout)
- Tile nippers (for irregular cuts)
- Grout sponge
- Knee pads
- Safety gear: gloves, dust mask, safety glasses
Materials Required
- Ceramic tiles
- Thin-set mortar (tile adhesive)
- Grout (sanded or unsanded, depending on tile size)
- Tile spacers
- Backer board (if needed for subfloor)
- Screws or thin-set (to secure backer board)
- Transition strips (if needed)
- Sealer (for grout)

DIY Guide: How to Install Ceramic Tile Flooring – Step-by-Step
We know that ceramic tile flooring is one of the most durable, water-resistant, and stylish options for kitchens, bathrooms, and other high-traffic areas. While installing tile may seem challenging, the process is entirely DIY-friendly if you have the right tools, materials, and guidance. This guide is part of our DIY flooring series, designed to give you every single detail you need to install ceramic tile like a pro. Whether you’re installing it in a bathroom, kitchen, or entire home, following this step-by-step guide will ensure a flawless finish. And if you ever decide you’d rather have a professional install your tile flooring, we offer expert tile flooring installation services in Denver, Golden, Lakewood, Arvada, and surrounding areas.
A clean, solid, and level subfloor is crucial for a long-lasting tile installation.
Remove any existing flooring, including old tile, laminate, or carpet.
Check for uneven areas—the floor must be level within ⅛ inch over 6 feet.
If installing over wood subfloors, install cement backer board using screws and
thin-set to create a stable surface.
If installing over concrete, clean and remove dust, and patch any cracks.
Tip: Never install ceramic tile directly over plywood—it expands and contracts too
much, causing tiles to crack.
Proper planning prevents uneven cuts and misaligned tiles.
Find the center of the room using a chalk line and mark a grid pattern for the tiles.
Dry-lay the tiles along both axes to ensure the design is symmetrical.
Adjust the starting point if necessary to avoid tiny tile cuts at the edges.
Tip: Avoid ending a row with tiles smaller than half a tile—adjust your layout to
maintain balance.
Mix the thin-set mortar according to the manufacturer’s instructions until it has a
peanut butter-like consistency.
Use a notched trowel to spread a thin layer of mortar on the subfloor.
Hold the trowel at a 45-degree angle to create grooves in the mortar—this ensures a
strong bond.
Tip: Only spread enough mortar for a few tiles at a time—it dries quickly!
Place the first tile at the center point and press it firmly into the mortar.
Use tile spacers to maintain consistent grout lines between each tile.
Continue placing tiles, following your grid pattern and working outward.
Periodically check for levelness and adjust tiles as needed.
Tip: If a tile sits too high, press it down gently. If it's too low, add a little more mortar
underneath.
Use a manual tile cutter for straight cuts.
For curved or irregular cuts, use tile nippers or a wet saw.
To fit tiles around doorways, pipes, or vents, trace the shape onto the tile and cut
carefully.
Tip: A wet saw is best for precision cuts—especially for harder ceramic tiles.
Let the tiles sit for at least 24 hours before walking on them or applying grout.
Remove tile spacers before grouting.
Tip: Do not rush this step—walking on freshly laid tiles can ruin your work.
Mix the grout according to the package instructions.
Use a rubber float to press grout into the spaces between the tiles.
Hold the float at a 45-degree angle and sweep diagonally to avoid pulling grout out.
Wipe off excess grout with a damp sponge before it fully dries.
Tip: If using porous tiles, apply a grout release before grouting to prevent
staining.
After 24 hours, wipe the tiles again with a clean, damp sponge to remove grout haze.
Apply grout sealer to protect against moisture and stains (especially in bathrooms and
kitchens).
Tip: Grout sealer prevents discoloration and extends the life of your tile floor.
Install baseboards or quarter-round molding to cover expansion gaps at the walls.
If transitioning to another flooring type, install a transition strip for a smooth finish.
Tip: Caulk along baseboards for a clean and polished look.
Common Challenges & How to Solve Them
Uneven tiles (lippage) – Use tile leveling spacers to maintain a flat surface.
Mortar drying too fast – Work in small sections to prevent thin-set from hardening
before you lay tiles.
Cracking tiles – Ensure your subfloor is stable and level before installation.
Grout discoloration – Use a high-quality grout sealer to prevent moisture absorption.
Sharp tile edges – Smooth rough edges with sandpaper or a tile stone.
Final Thoughts
Installing ceramic tile flooring is a rewarding DIY project that can completely transform your space. With careful planning, proper tools, and attention to detail, you can achieve a professional-looking tile floor that will last for decades.
📢 Have any questions? Need professional tile flooring installation instead of DIY?
Our team provides expert tile flooring installation services in Denver, Golden, Lakewood,
Arvada, and surrounding areas.

