
We know that laminate flooring is one of the most affordable, durable, and DIY-friendly flooring options available.
We know that laminate flooring is one of the most affordable, durable, and DIY-friendly flooring options available. It provides the look of real hardwood without the cost, maintenance, or difficult installation process. This guide is part of our DIY flooring series, designed to give you every single detail you need to install laminate flooring like a pro. Whether you’re upgrading a single room or installing laminate throughout your home, this step-by-step guide will ensure a flawless installation. And if you decide you’d rather have a professional install your flooring, we offer expert laminate flooring installation services in Denver, Golden, Lakewood, Arvada, and surrounding areas.
Laminate flooring is typically installed using a floating floor system, meaning the planks are
not nailed or glued down. The two most common installation types are:
Click-Lock (Floating Floor) – The most popular and easiest method; planks snap
together without glue or nails.
Glue-Down Laminate – Used in high-traffic areas or moisture-prone environments for
added durability.
Tip: Always check the manufacturer’s instructions to ensure you’re using the
correct installation method for your specific laminate flooring.
Store the laminate planks in the room where they will be installed for at least 48-72
hours before installation.
Keep the room temperature between 60-80°F and humidity between 30-50% to prevent
expansion or contraction after installation.
Tip: Use a moisture meter to ensure the subfloor is within the acceptable moisture
range.
A level, clean, and dry subfloor is essential for a successful laminate flooring installation.
Remove any existing flooring (carpet, old laminate, or vinyl).
Ensure the subfloor is level within ⅛ inch over 6 feet. If not, use a floor leveling
compound to fill low spots and sand down high areas.
Clean the entire surface thoroughly with a vacuum or broom.
If installing over concrete, install a moisture barrier to prevent warping.
Tip: Run a straightedge across the floor to check for any uneven areas before
installation.
Underlayment provides sound absorption, moisture resistance, and cushioning for your laminate floor.
Roll out the underlayment across the entire floor.
Trim excess underlayment and tape the seams together.
Avoid overlapping layers, as this can create uneven areas.
Tip: Some laminate planks come with pre-attached underlayment, so check
before purchasing extra.
Start along the longest, straightest wall in the room.
Measure the room and divide the width by the plank size to ensure the last row will be at
least half a plank wide.
Stagger seams by at least 6 inches between rows for a natural look.
Tip: Lay a few planks in place before installation to ensure you like the layout.
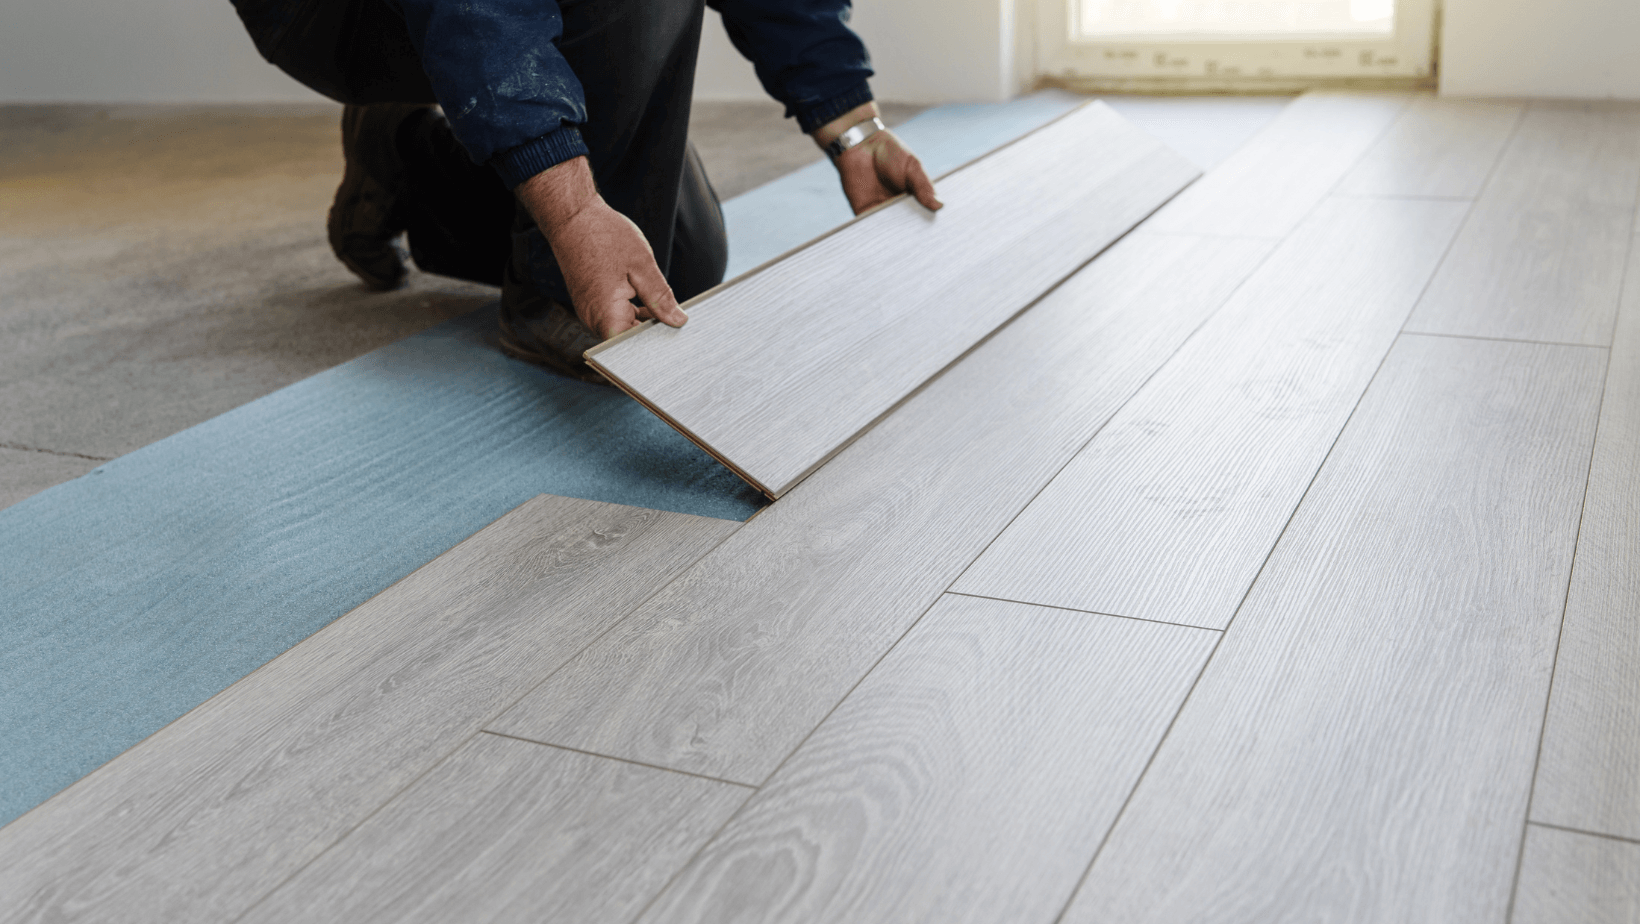
For Click-Lock (Floating) Laminate Installation
Start with the first row along the longest wall, leaving a ¼-inch expansion gap using
spacers.
Insert the tongue of the second plank into the groove of the first plank at an angle
and press down to lock.
Continue snapping planks together, tapping them lightly with a rubber mallet and
tapping block to secure a tight fit.
Use a pull bar for the last plank in each row to ensure it locks in place.
Continue installing row by row, staggering the seams for a natural look.
For Glue-Down Laminate Installation
Spread flooring adhesive on a small section of the subfloor using a notched trowel.
Lay the first plank into the adhesive and press down firmly.
Continue working row by row, applying even pressure on each plank.
Use a floor roller to ensure proper bonding.
Tip: Wipe off excess adhesive immediately before it dries.
Use a jigsaw or multi-tool to cut around vents, pipes, and door frames.
For door jambs, use an oscillating tool to cut the bottom so the planks can slide underneath.
Tip: Measure twice, cut once to avoid mistakes when cutting laminate planks.
Measure the last row and cut planks lengthwise using a circular saw or table saw.
Use a pull bar to fit the final planks snugly into place.
Tip: If the last row is too narrow, adjust the first row’s width for better balance.
Remove spacers and install baseboards or quarter-round molding to cover the
expansion gap.
Install transition strips where the laminate meets other flooring types.
Vacuum or sweep the floor to remove any dust or debris.
Tip: Avoid excessive moisture when cleaning—use a damp mop or
laminate-friendly cleaner.
Gaps between planks – Ensure planks are fully locked in place before moving to the
next row.
● Uneven flooring – Use leveling compound to fix dips and prevent hollow-sounding
planks.
● Laminate planks won’t snap together – Check for debris in the grooves and ensure
you’re angling planks properly when clicking them in place.
● Peaking or buckling – This happens when there’s no expansion gap. Trim edges
slightly if necessary.
● Squeaky or bouncy flooring – Underlayment may not be properly installed, or the
subfloor may be uneven.
Installing laminate flooring is one of the easiest and most rewarding DIY projects you can
take on. With proper planning, careful installation, and attention to detail, you can achieve a
professional-looking floor that lasts for years.
📢 Have any questions? Need professional laminate flooring installation instead of DIY?
Our team provides expert laminate flooring installation services in Denver, Golden,
Lakewood, Arvada, and surrounding areas.

Golden Flooring & Remodeling Company – Providing quality flooring, kitchen, and bathroom remodeling with expert craftsmanship and personalized service.