
Luxury Vinyl Tile (LVT) is a durable, stylish, and easy-to-maintain flooring option that mimics the look of real hardwood or stone.
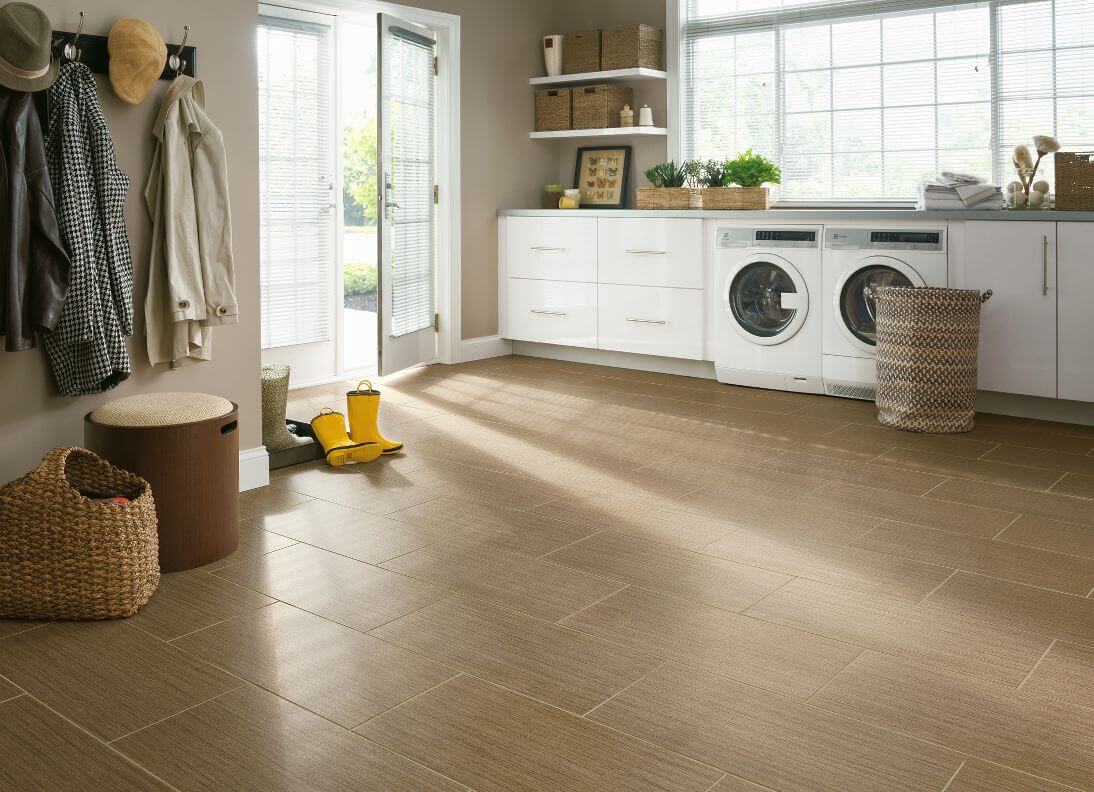
Luxury Vinyl Tile (LVT) is a durable, stylish, and easy-to-maintain flooring option that mimics the look of real hardwood or stone. Whether you’re upgrading your home or tackling a DIY project, installing LVT can be a straightforward process if you follow every step carefully. This guide will walk you through everything you need to know, from preparation to final finishing touches.
LVT comes in different installation types. Choose the method that best suits your space:
Click-Lock (Floating LVT) – Snaps together without glue; easiest for DIYers.
Glue-Down – Adheres to the subfloor with flooring adhesive; requires more prep.
Loose-Lay – Heavy-weighted planks lay in place with no glue or locking system.
A clean, smooth, and level subfloor is crucial for a long-lasting installation.
Checklist for Subfloor Prep
✅ Remove old flooring (if necessary).
✅ Scrape off any glue, nails, or staples.
✅ Fill in low spots with floor-leveling compound.
✅ Sand down high spots to ensure evenness.
✅ Clean thoroughly—vacuum and mop the surface.
✅ Check moisture levels (LVT can warp if subfloor is too damp).
Tip: If installing over concrete, use a moisture barrier to prevent moisture issues.
Planning your layout will prevent small sliver cuts at edges and ensure a balanced look.
Key Considerations
Find the longest, straightest wall – This will be your starting point.
Snap a chalk line to guide the first row.
Dry-lay a few planks to see how they fit before cutting.
Ensure staggered seams (at least 6 inches apart) for a natural look.
Tip: Avoid ending a row with a plank less than half its original length—adjust
your starting cut if needed.
For Click-Lock (Floating) LVT
1. Start from the longest wall and place spacers along the edges for a ¼-inch
expansion gap.
2. Insert the tongue into the groove at a slight angle and snap it down.
3. Use a rubber mallet and tapping block to ensure a tight fit.
4. Continue installing row by row, staggering seams.
5. Trim the last plank in each row using a utility knife or jigsaw.
For Glue-Down LVT
1. Apply adhesive with a trowel, covering a small section at a time.
2. Place each tile into the adhesive and press down firmly.
3. Use a floor roller to ensure a strong bond.
4. Continue applying adhesive and laying tiles row by row.
Tip: Wipe excess adhesive immediately before it dries.
For Loose-Lay LVT
1. Place planks directly on the subfloor with no adhesive.
2. Ensure edges fit tightly for a snug installation.
3. Use double-sided tape along edges for extra security (if needed).
Door Frames: Use an oscillating tool to cut the bottom of door jambs so the LVT can slide
underneath.
Vents: Measure and cut with a jigsaw or utility knife.
Irregular Shapes: Use a paper template to trace and cut planks accurately.
Tip: Heat the planks slightly with a heat gun for easier cutting around intricate
areas.
Measure the gap for the last row.
Cut planks lengthwise using a utility knife and straightedge.
Use a pull bar to snap planks into place since space is tight.
Remove spacers and cover expansion gaps with baseboards or quarter-round molding.
Install transition strips between different flooring types (if needed).
Caulk gaps around fixed objects like door frames.
Clean the floor thoroughly with a damp mop.
Gaps between planks – This usually happens when planks aren’t fully locked together. Make sure each plank clicks in properly, and use a tapping block to secure the seams. Uneven subfloor – An uneven subfloor can cause planks to lift or create gaps. Before installing LVT, use a floor leveling compound to smooth out any low spots and sand down high areas. Peaking or buckling – This is often due to not leaving enough expansion space. Always leave a ¼-inch gap around the perimeter of the room to allow for natural movement. Difficult cuts – Cutting around obstacles like door frames or vents can be tricky. A jigsaw works best for precision cuts, and if you’re struggling with a tough area, heating the plank slightly with a heat gun can make it easier to cut. Loose planks in floating LVT – If planks aren’t locking in well, check that you’re angling them properly during installation. Also, avoid walking on the floor too soon—give it time to settle.
Installing LVT is totally DIY-friendly if you follow each step carefully. Take your time with prep work, layout planning, and cutting, and you’ll have a professional-looking floor at a fraction of the cost! Have any questions? Email or call us!

Golden Flooring & Remodeling Company – Providing quality flooring, kitchen, and bathroom remodeling with expert craftsmanship and personalized service.