
Slate tile flooring is a durable, natural stone option that brings a rustic yet elegant look to any space.
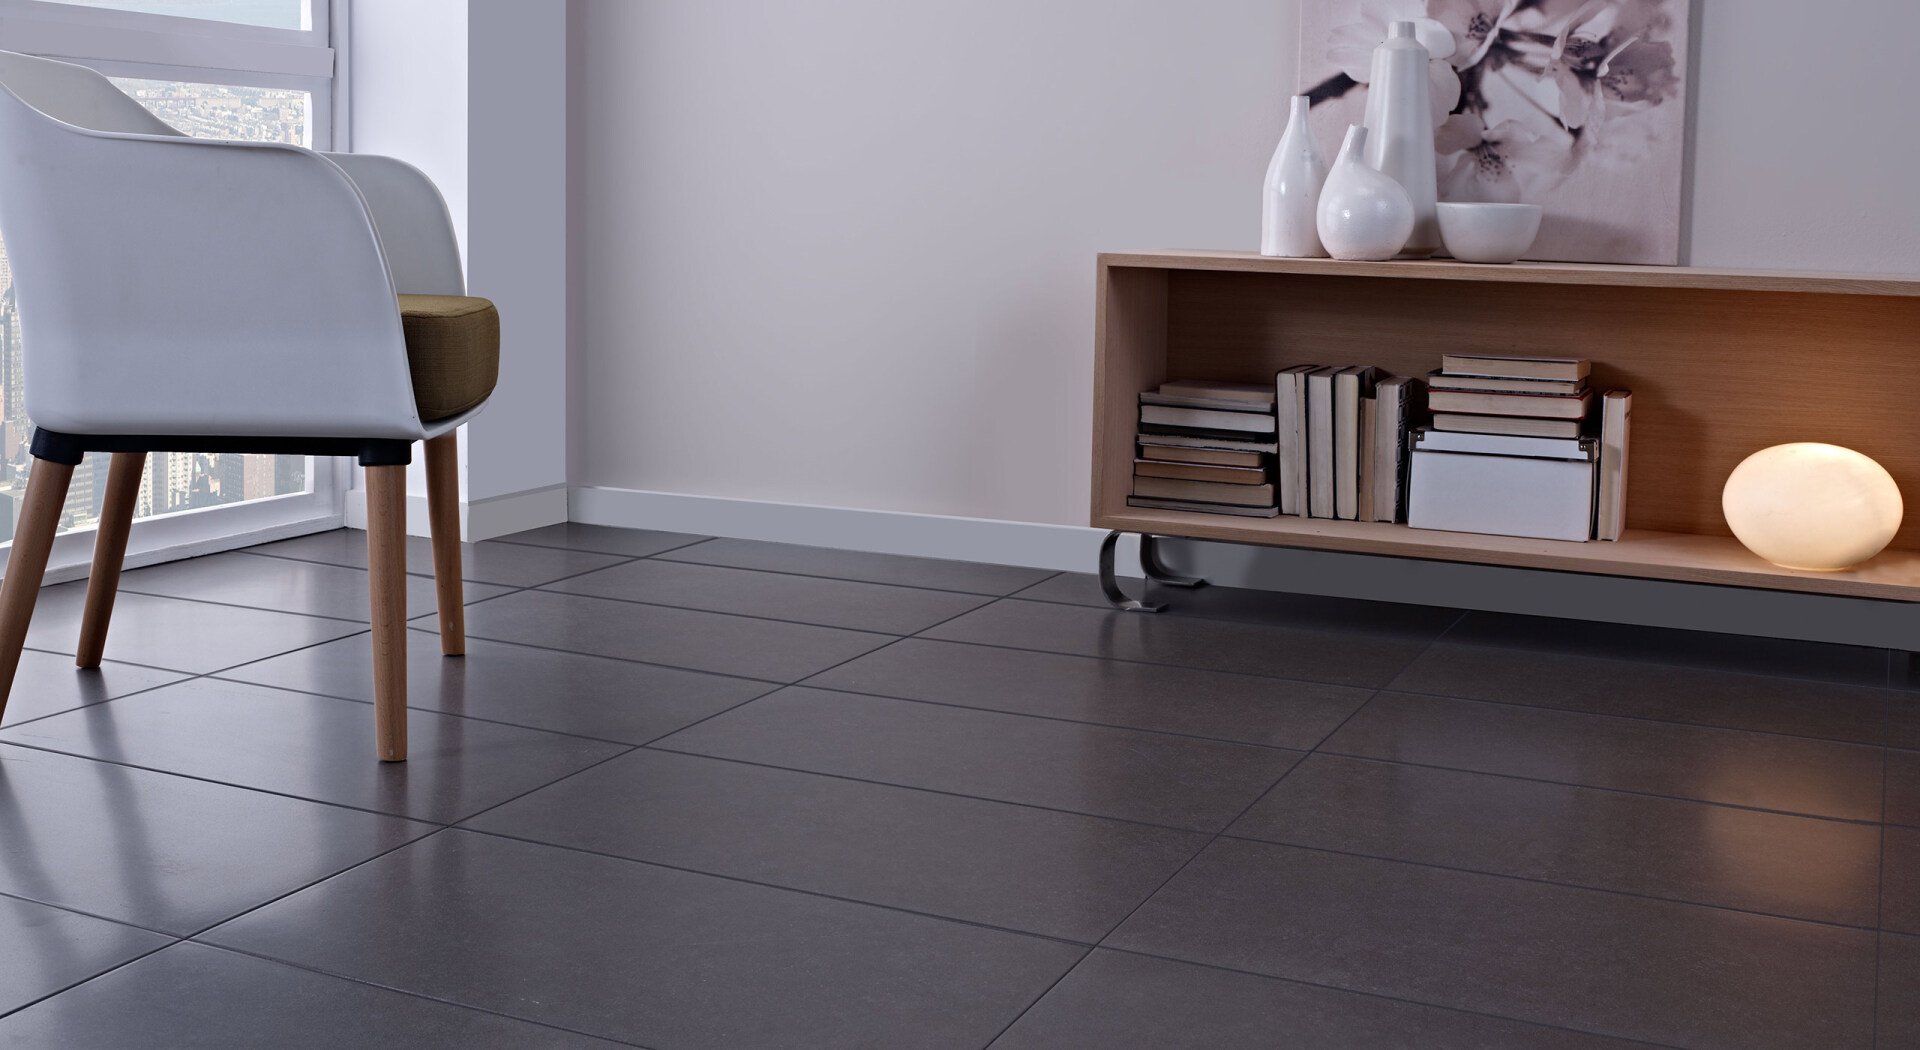
Slate tile flooring is a durable, natural stone option that brings a rustic yet elegant look to any space. Known for its rich textures and earthy colors, slate is a popular choice for entryways, kitchens, bathrooms, and outdoor patios. Unlike ceramic or porcelain tile, slate is more porous, heavier, and varies in thickness, making installation a bit more challenging—but completely doable with the right approach. This step-by-step guide will walk you through every detail of installing slate tile flooring, from subfloor preparation to sealing the finished surface. Whether you’re installing it indoors or outdoors, following this guide will ensure a professional, long-lasting installation.
A stable, level, and clean subfloor is essential for installing slate tile properly.
Remove any existing flooring, including old tile, laminate, or carpet.
Ensure the floor is level within ⅛ inch over 6 feet. If needed, use a self-leveling compound to fix low spots.
If installing over wood subfloors, install cement backer board using screws and thin-set to provide a solid foundation.
If installing over concrete, clean the surface thoroughly and patch any cracks.
Tip: Slate tiles are heavier and more brittle than ceramic or porcelain, so a solid
subfloor is crucial to prevent cracking.
Since slate tiles vary in color, thickness, and texture, a well-planned layout ensures the best
look.
Find the center of the room using a chalk line and mark a grid pattern for the tiles.
Dry-lay the slate tiles to check the color and pattern distribution.
Adjust the starting point to avoid small or awkward cuts along the edges.
Tip: Mixing tiles from multiple boxes helps distribute color variation evenly for a
natural look.
If using natural slate, apply a penetrating sealer before installation to prevent thin-set and grout from staining the tile.
If the tiles are pre-sealed, you can skip this step.
Tip: Pre-sealing also makes cleaning excess grout easier after installation.
Choose white or gray thin-set mortar depending on the color of the slate.
Mix the mortar to a peanut butter-like consistency following manufacturer
instructions.
Use a notched trowel to spread a thin, even layer on the subfloor.
Hold the trowel at a 45-degree angle to create grooves in the mortar for better adhesion.
Tip: Only spread enough mortar for a few tiles at a time—it dries quickly!
Apply a thin layer of mortar to the back of each tile before placing it on the floor.
This ensures full adhesion and prevents hollow spots under the tiles.
Tip: Because slate tiles can have uneven backs, back-buttering helps create a
stronger bond and more even surface.
Begin at the center of the room and work outward.
Press each tile firmly into the mortar and wiggle slightly to set it in place.
Use tile spacers to maintain consistent grout lines.
Periodically check for levelness and adjust tiles as needed.
Tip: Some slate tiles are naturally uneven—use a tile leveling system if
necessary.
Use a wet saw with a diamond blade for clean, precise cuts—slate is brittle and requires careful handling.
For straight cuts, use a manual tile cutter.
For curved or irregular cuts, use tile nippers or a wet saw with an adjustable guide.
Tip: Cut slowly and steadily to prevent chipping.
Let the tiles set for at least 24 hours before walking on them or applying grout.
Remove tile spacers before grouting.
Tip: Walking on freshly laid tiles can shift them, ruining alignment.
Use sanded grout for joints larger than 1/8 inch for better durability.
Use non-sanded grout for joints smaller than 1/8 inch to avoid scratching the tile.
Spread the grout into the spaces using a rubber float, holding it at a 45-degree angle.
Wipe off excess grout with a damp sponge before it dries.
Tip: Because slate is porous, grout can be difficult to clean off—use grout release
or pre-sealing if needed.
After 24 hours, wipe the tiles again with a clean, damp sponge to remove grout haze.
Apply a second coat of slate tile sealer to protect against stains, moisture, and wear.
Also apply grout sealer to protect the grout lines from absorbing dirt and moisture.
Tip: Sealing enhances the rich color and texture of slate and makes it easier to
maintain.
Install baseboards or quarter-round molding to cover expansion gaps along the walls.
If transitioning to another flooring type, install a transition strip for a seamless look.
Tip: Use color-matched caulk where the tile meets walls or cabinets for a polished
finish.
Uneven tiles (lippage) – Use a tile leveling system to ensure a smooth surface.
● Tiles cracking after installation – Ensure full coverage of mortar and use a
back-buttering technique.
● Grout discoloration – Use a high-quality grout sealer to prevent moisture absorption.
● Slate absorbing too much grout – Apply a pre-sealer before grouting to avoid
excessive staining.
● Sharp tile edges – Smooth rough edges with sandpaper or a tile stone.
Installing slate tile flooring is a rewarding DIY project that adds natural beauty and
durability to any space. With proper planning, precision, and sealing, you can achieve a stunning, long-lasting installation.
📢 Have any questions? Need professional slate tile installation instead of DIY?

Golden Flooring & Remodeling Company – Providing quality flooring, kitchen, and bathroom remodeling with expert craftsmanship and personalized service.